
Whether you choose pavers, tile or natural stone, there are many features you can include in your patio. We can custom build steps, landings, columns, fire pits and other elements into your design.
As part of our design consultation, you will receive a rendering of what your space can look like with different features to help make your decision. We will also ensure that the proper drainage is included where necessary so your patio can stand the test of time.
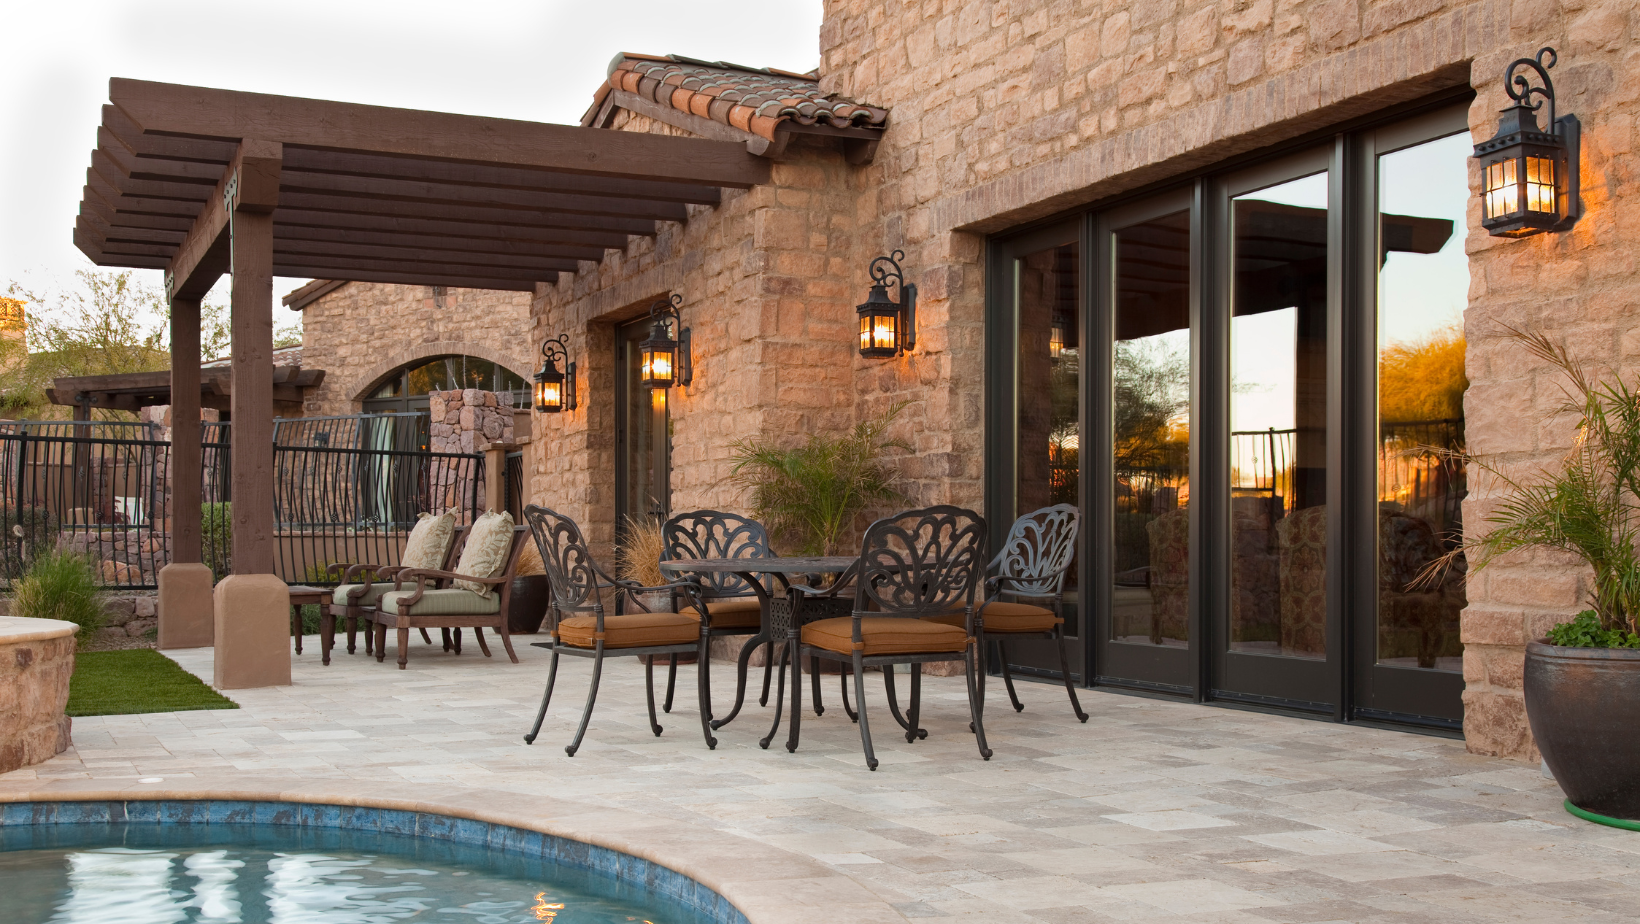
Using materials like pavers, tile and marble is an elegant way to bring old-world charm to any home. There are colors and finishes in all of these materials which will bring out the best in any decorating style from modern to mission.
To achieve these classic looks, we use cutting-edge, contemporary materials. There are many styles of non-slip tile and natural stone now available that are suitable for outdoor use, even poolside. We have experience installing leather-finish marble, waterproof porcelain and more.
We can use any of these materials, or even combine them, to create a custom patio.
Tile offers the most variety of the three materials. There are many styles currently available that mimic marble, pavers and wood. There are also several varieties of mosaic tile that can be used on a patio and even around a pool deck. It’s important when considering tile to look for is the manufacturer’s specifications which will state whether the tile is waterproof, recommended for outdoor use and safe for a pool deck. They can be more fragile than natural stone or pavers if something heavy is dropped on them.
Pavers are the least slippery of these three options since they are made of concrete. They have significantly less color and style options than tile, but they are made to be outdoors in the Florida heat. They are also the same color throughout, so even if they are damaged or scratched, they will hold their color. Pavers should be pressure washed, re-sanded and sealed about every 5 years.
Natural stone is the most expensive option for outdoor patios, but they offer an unparalleled look of luxury. There are stones which are less slippery, such as travertine and leather-finished marble. They can also be combined with granite countertops on an outdoor kitchen to create a stunning outdoor space.
We can install many features in patios including:
Many homeowners want to save money by overlaying an existing patio with a new material. While this approach can be more cost-effective short-term, it may end up being more costly in the long run.
Sometimes there are issues with the existing deck that will just be covered up with the new installation. These issues can surface over time and break up the new installation since it is dependent on what is below it. For example, you may find that your new tile or paver deck begins to crack due to a problem with the deck beneath it. There is no way to make a lasting repair because the problem is likely in the foundation and can only be solved by tearing out the installation to redo the foundation.
To ensure your installation stands the test of time, the best option will always be tearing out the existing foundation to lay a new one custom-made for the material you are laying over it.
Depending on the features you choose for your patio and the city and county you live in, you may need a permit for your project. The only thing to keep in mind if your project needs a permit is that it may delay your start date since we will not be able to start until the permit is approved. We will do everything we can to expedite the process and keep you informed every step of the way.
These are some things that would require a permit regardless of the city and county:
We believe that full transparency is the best policy. Below, you will find a thorough look at our process from start to finish.