
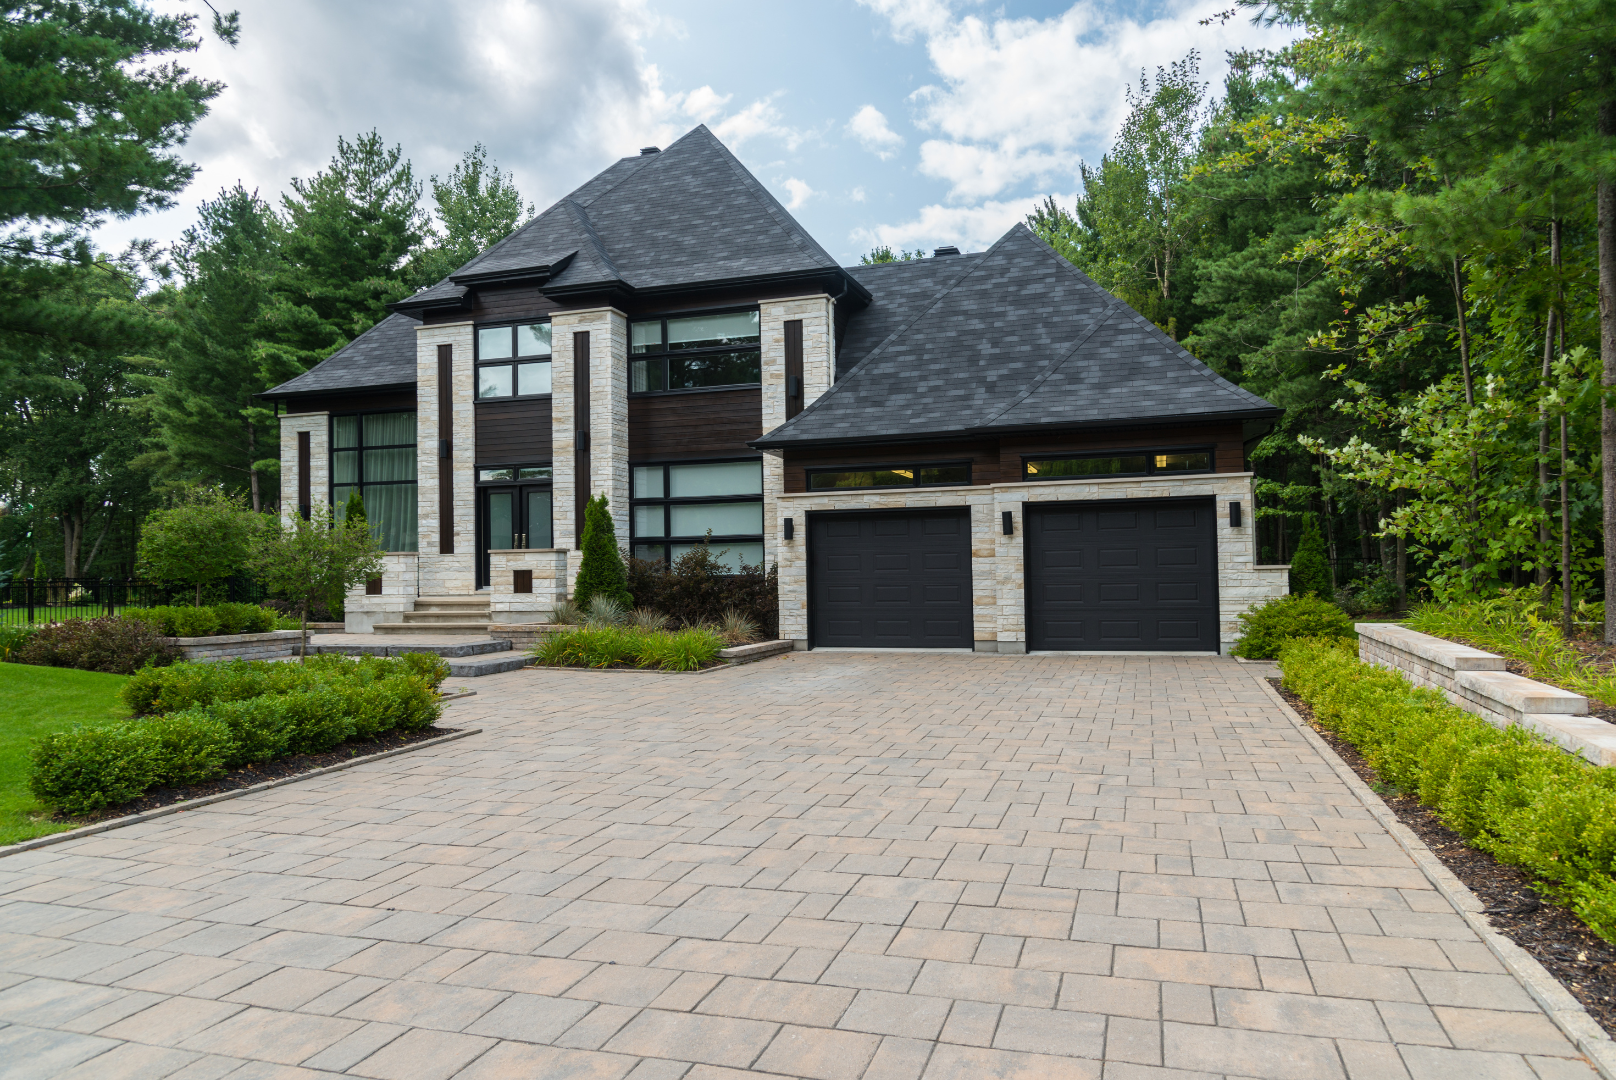
Brick paver driveways create a beautiful handcrafted finish to any front entryway.
Brick pavers come in a variety of colors, textures, shapes and sizes so all of our paver driveways are custom designed to fit your home’s aesthetic. We can also customize different design accents, such as pillars, stairs and borders, so your paver entryway is as unique as you are.
We take our inspiration from the beautiful stonework of ancient Italy, where brick installations have stood firm for thousands of years. Stonework done well is the best investment you can make in your home. Our attention to detail, experience and pride in craftsmanship ensures a quality, long-lasting installation every time.
Unlike stamped or colored concrete, brick pavers don’t crack in the Florida heat. This makes them a worthwhile investment for any home, but is especially important for homes with long or spacious driveways.
At Beleza, we invest the time and effort necessary to properly prepare the ground for installation. Many companies do not dig deep enough or compact the ground sufficiently to ensure the stability and durability of paver driveways. Because they will be used for vehicle traffic, paver driveways that stand the test of time need to have a solid base or the installation will fail.
Drainage is another often overlooked part of paver driveway installation. When installers ignore proper grading and slope, you could have areas of flooding or standing water that compromise the installation and your home.
A paver driveway for a house with a 3-car garage usually takes 5-7 days to install. Longer or more complex driveway designs, such as circular driveways or entryways with additional paver features, can take 2-3 weeks to install.
We do our best to schedule installations as efficiently as possible so you can get your driveway back quickly. To ensure your driveway installation goes smoothly, we will not begin installation until your pavers have arrived at the project site.
A properly installed paver driveway should easily last 15 years or more before needing repair.
We believe that paver installations should stand the test of time. There are brick streets throughout Europe that were installed thousands of years ago. We take our lead from those great craftsmen.
Some of the features we can build into your paver entryway include:
The first step to good drainage in a paver installation is correct slope and grading. Our project manager will ensure that the ground is properly prepared and the optimal slope and grading are established throughout the installation.
You might also need additional drainage elements installed throughout the installation, such as pop up and french drains.
We also include sleeves in all of our installations that can be used to run water and/or electric cables under the driveway.
Most paver companies install approximately 4 inches of compacted road base under their driveway installations. While that is sufficient for pedestrian areas, such as walkways and patios, that is not enough foundation to support vehicles.
We install a double foundation of approximately 8 inches of compacted road base. This deep and thorough ground preparation ensures that the installation will stand the test of time while being used for vehicle traffic.
We ensure that the road base is compacted to a minimum of 95% compaction on all of our installations.
Poorly compacted road base will lead to sinking or shifting pavers within a few years. While some paver companies will “repair” these areas, there is no way to provide a long-lasting solution to foundation issues at the base of an installation.
All paver driveway installations need a licensed contractor to pull a permit from the appropriate county and/or city.
Beleza will send you a Notice of Commencement for you to notarize after you sign the contract and we will request a survey of your home. With these documents, we will pull the permit from the appropriate building department.
Some building departments process permits in as little as 7 days, others can take 45 to 60 days.
We will begin the permitting process as soon as we receive your Notice of Commencement and survey. We always request an estimated time for approval from the building department, which we convey to our clients.
Unfortunately, there is nothing Beleza can do to speed up the permitting process. However, we will be in communication about any updates we receive so you know what to expect. As soon as your permit is approved and the pavers arrive on your property, we will schedule your project start date.
Beleza Design & Construction offers a 5 year warranty on our paver installations. If during that time, you notice issues due to craftsmanship, please contact us and we will send out a member of our team to make repairs.
We believe that full transparency is the best policy. Below, you will find a thorough look at our process from start to finish.